Image tips for a successful listing
Good photos sell items. Show the whole item, then its angles, then its labels, so buyers can buy without having to ask questions.


Cover photo
The one image that decides whether a buyer stops scrolling.
-
01
Use a full, front-facing shot. Show the whole item from the front, captured straight on against a clean, minimal background.
-
02
Skip close-ups and rear views. Your cover photo should never be cropped, zoomed in, or shot from the back.
-
03
Keep it sharp and centered. A well-lit, high-quality portrait image that clearly shows the full item and its details.
-
04
The first image powers virtual try-on. A full, front-facing shot is what lets buyers try the item on themselves, and items they can try on sell more often.
-
05
Photograph the item, not yourself. Lay it flat, hang it, or use a mannequin. A photo with a person in it cannot be cut out cleanly and cannot be tried on, so it never goes first.
-
06
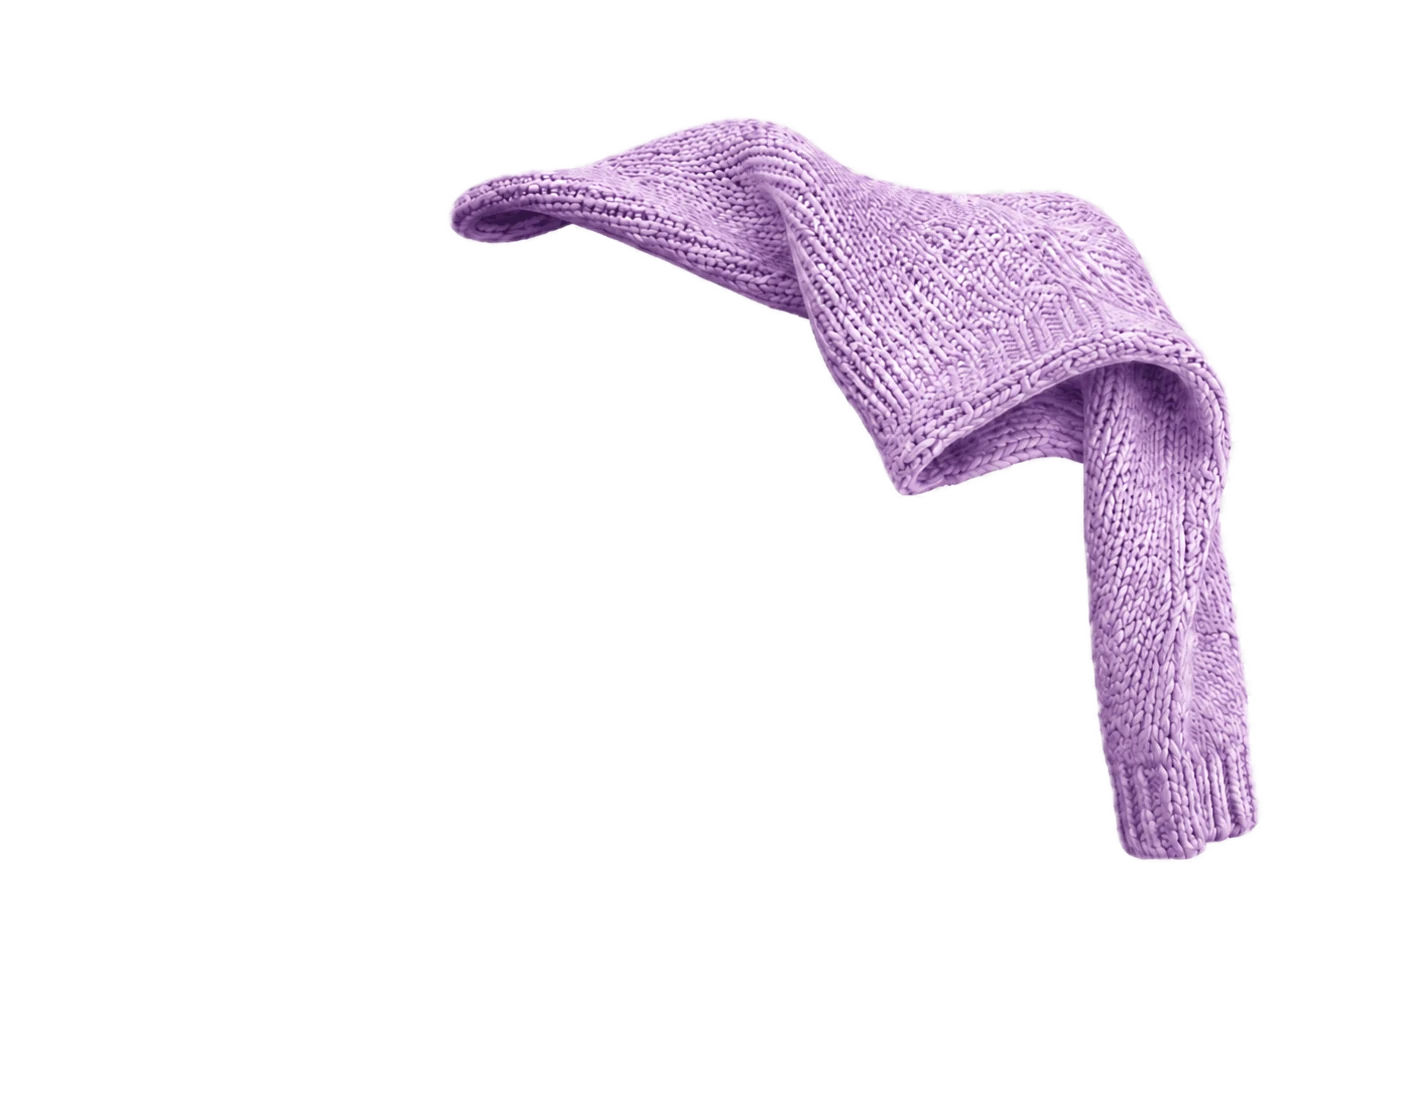
Fit the whole piece in the frame. A cover cropped to one sleeve, one strap or one corner tells a buyer nothing. Shoot the whole item in good light, then take all the close-ups you like for the rest of the gallery.


Clothing
Buyers can't touch the fabric, so let the photos do it for them.
-
01
Shoot front, back, and sides. The more angles you take, the fewer questions you'll be asked.
-
02
Capture the details. Buttons, patterns, tags, defects, or usage marks: anything a buyer would inspect in person.
-
03
Balance wide shots with close-ups. The full item first, then the detail shots that back it up.
-
04
Photos of it being worn go after the cover. Show the item and the person, not a close-up of the body. Underwear and lingerie should be photographed on their own in every photo, laid flat or on a hanger.


Footwear
Buyers judge condition by the soles, the toe box and the tags.
-
01
Cover every angle. Front, back, soles, tags, and the box.
-
02
Show stitching, texture, and wear. Make sure the images are clear enough to read them. The details matter.
-
03
Use bright, even lighting. It brings out the shape and the material without glare.
-
04
Photograph the box and everything with it. The original box, spare laces, dust bags, and receipts all add value, so give them a frame of their own.


Accessories
Small items get judged on the details you choose to show.
-
01
Small items need more angles. Capture multiple views and close-ups to give buyers the best look.
-
02
Use natural light and a neutral background. Clean surroundings keep the focus on the piece and avoid glare.
-
03
Highlight flaws and quirks. Buyers want to know exactly what they're buying, especially what's hard to see.


Close-up details matter
The last few photos are the ones that answer a buyer's final doubt.
-
01
Photograph every label. Brand labels, care tags, and size tags carry the information buyers look for first.
-
02
Get close to the fabric. Texture and pattern close-ups let buyers judge quality for themselves.
-
03
Find the unusual angle. Seams and specialized stitching show off how the piece was made.
-
04
Document wear honestly. Usage marks, defects, and repairs set accurate expectations.
-
05
Include the box. Original packaging adds value to your listing.


Common mistakes
Six common mistakes that cost sellers sales, and how to fix each one.
If a buyer has to ask for a photo, you have already lost the easy sale.
Leading with a close-up
A cropped or rear shot as the cover photo.
Lead with the whole item, front on. Save close-ups for photo two onwards.
Shooting on a busy floor
Patterned rugs, crumpled beds, other clothes in frame.
Pick one clean, neutral surface and shoot every photo of the listing on it.
Stopping at two photos
A front shot, a tag, and nothing else.
Six is the sweet spot: the item, its angles, and every label a buyer would check.
Keeping the flaw out of frame
Hiding a mark, a repair, or a worn heel.
Photograph it directly and describe it. Honest listings get fewer disputes and better reviews.
Shooting under a ceiling light
Yellow cast at night, hard shadows, wrong color.
Wait for daylight and shoot near a window. Color and texture both come out true.
Filters, borders, and added text
Edits that flatten texture or cover the item.
Post the photo as shot. Buyers read heavy editing as something being hidden.
Ready to take your photos?
List your items and start earning from clothes you already own.